A Series to Look Back: How I re-built a dictionary app meant as exercise for web developers, on native iOS hardware using Objective-C and UIKit, and what I learned from the extra challenge.
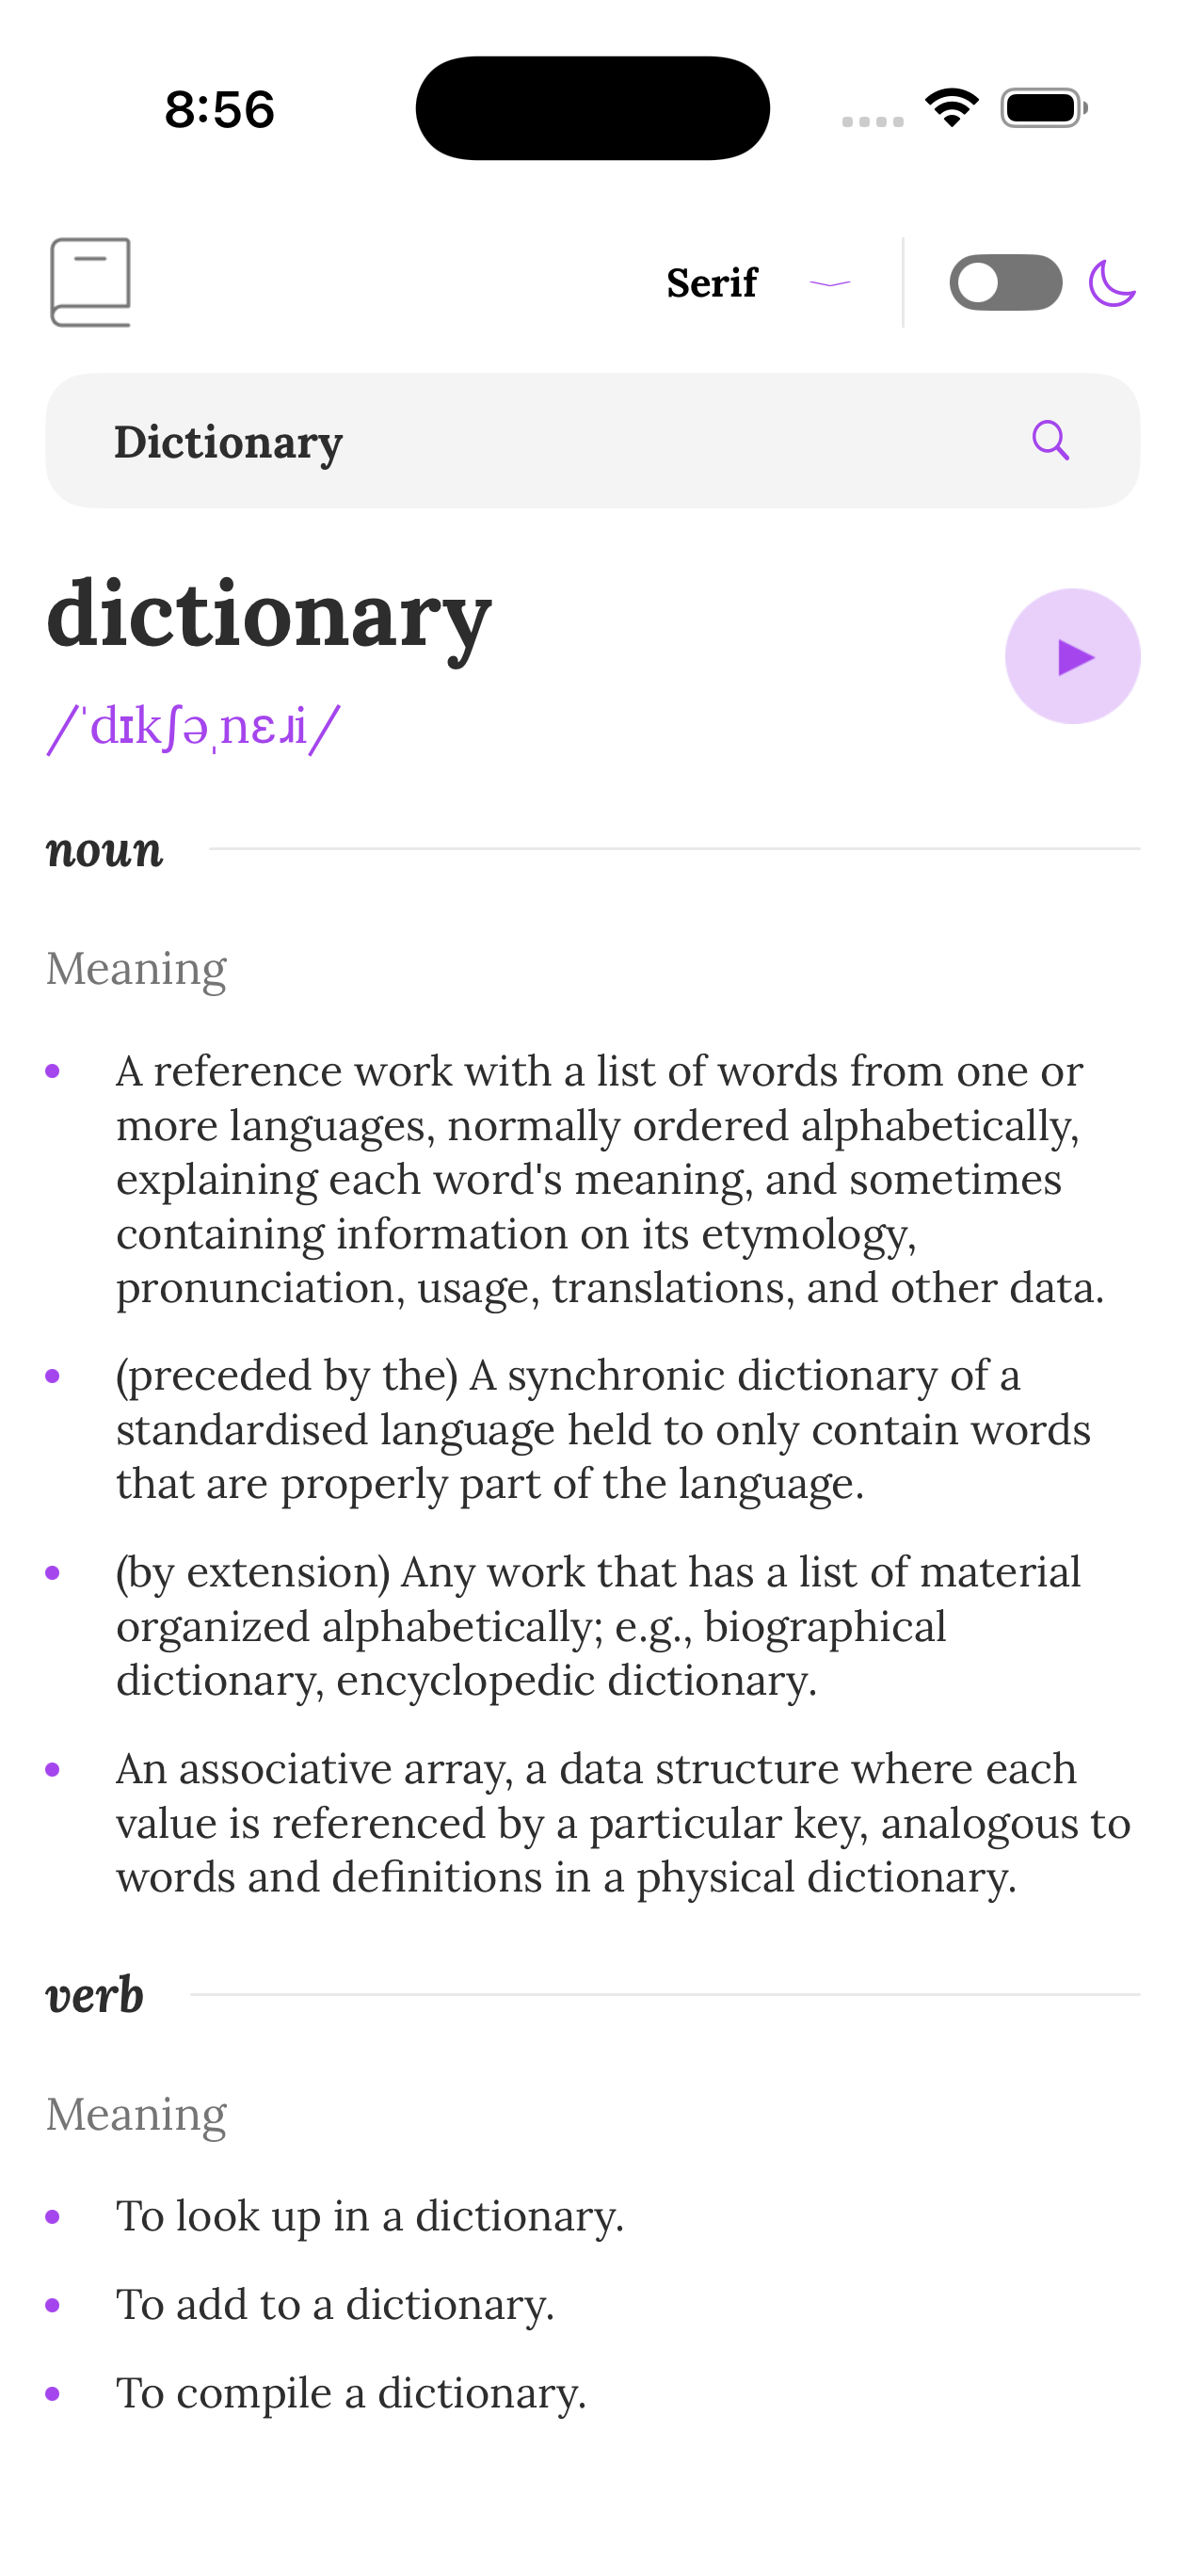
This is a super simple, can be said to only have one single screen that shows the word’s definitions and alike. This was created with UIKit and Objective-C as a learning opportunity, running against iOS 18.
Why?
…
I don’t know. Web seemed too easy, so I originally intended to go with SwiftUI and Swift. But then, I had a thought, “what would be more interesting?”
The Results
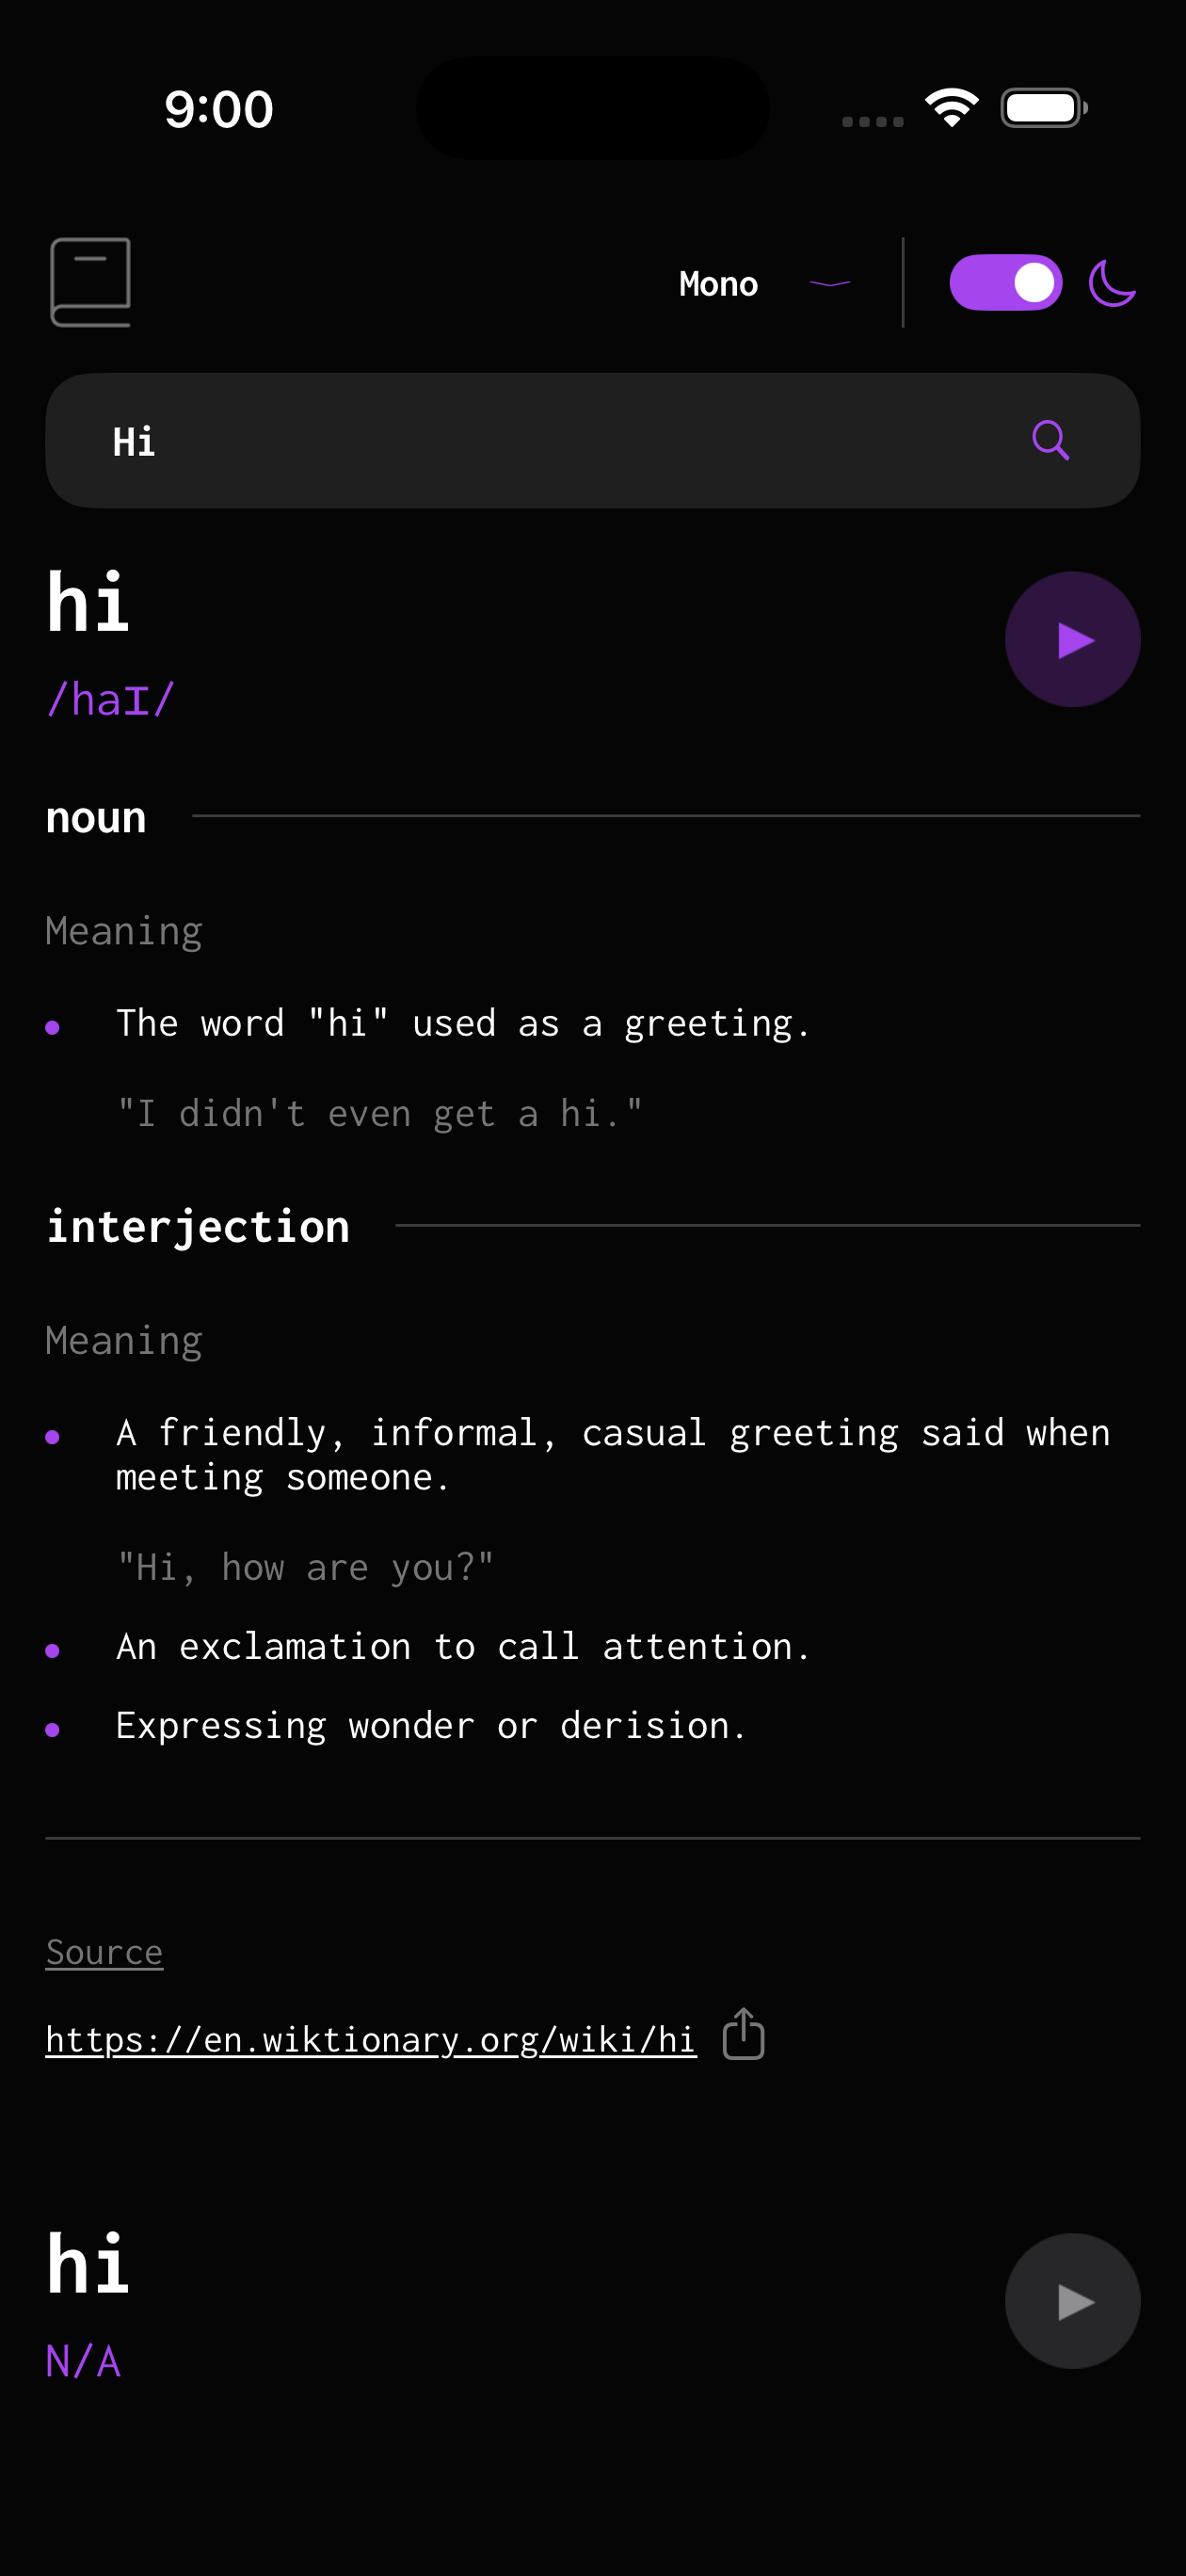
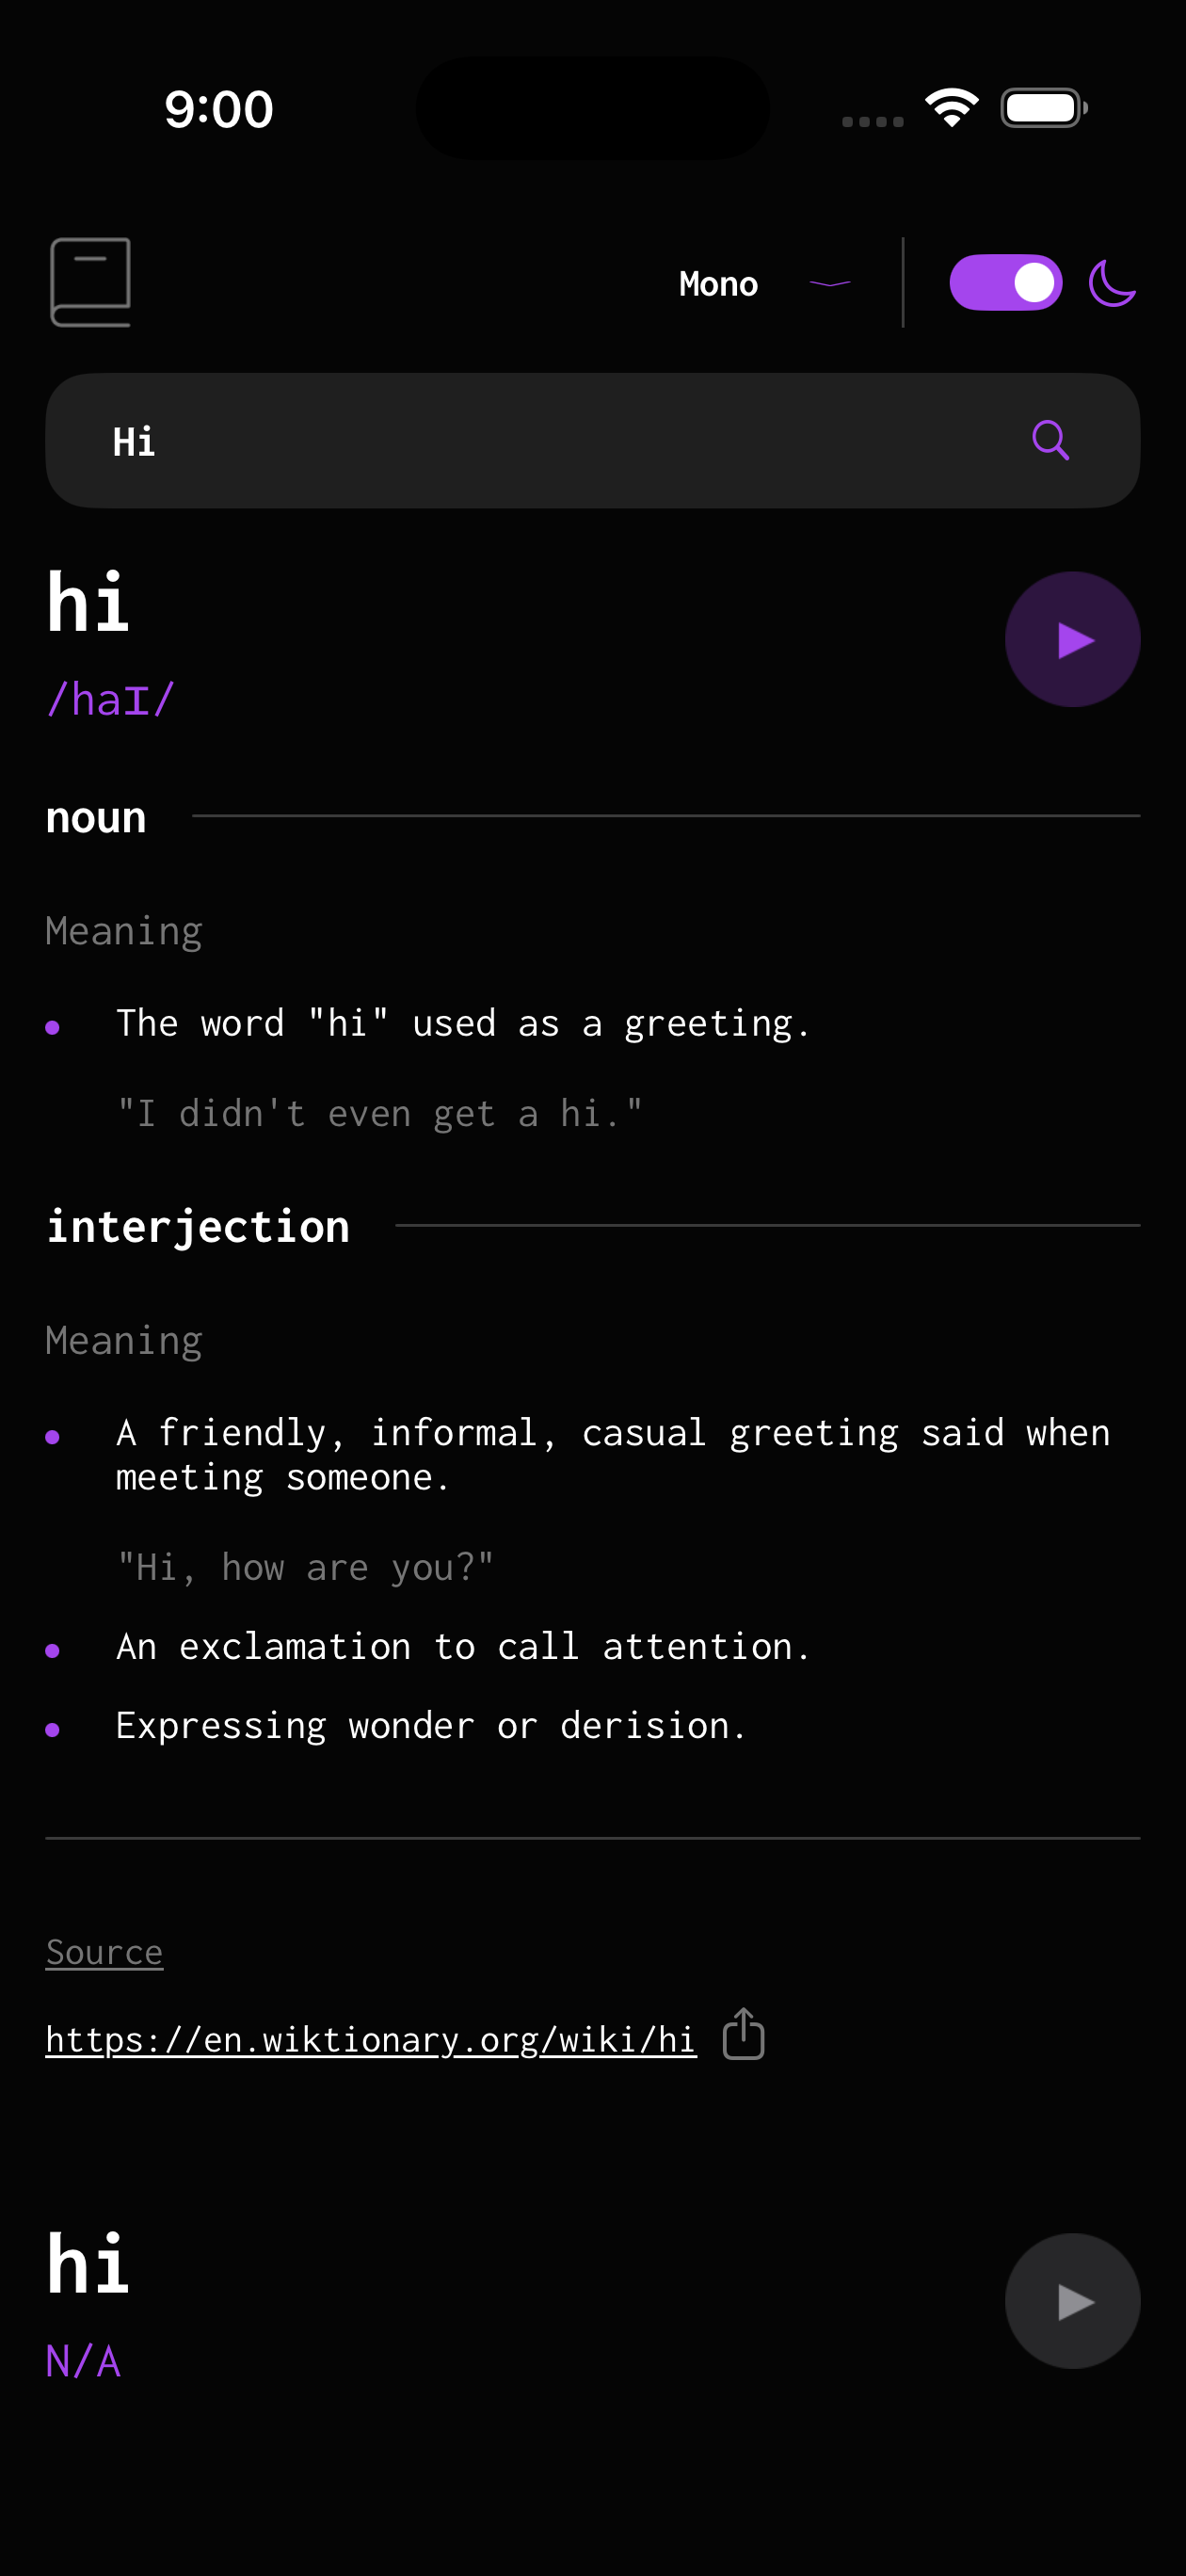
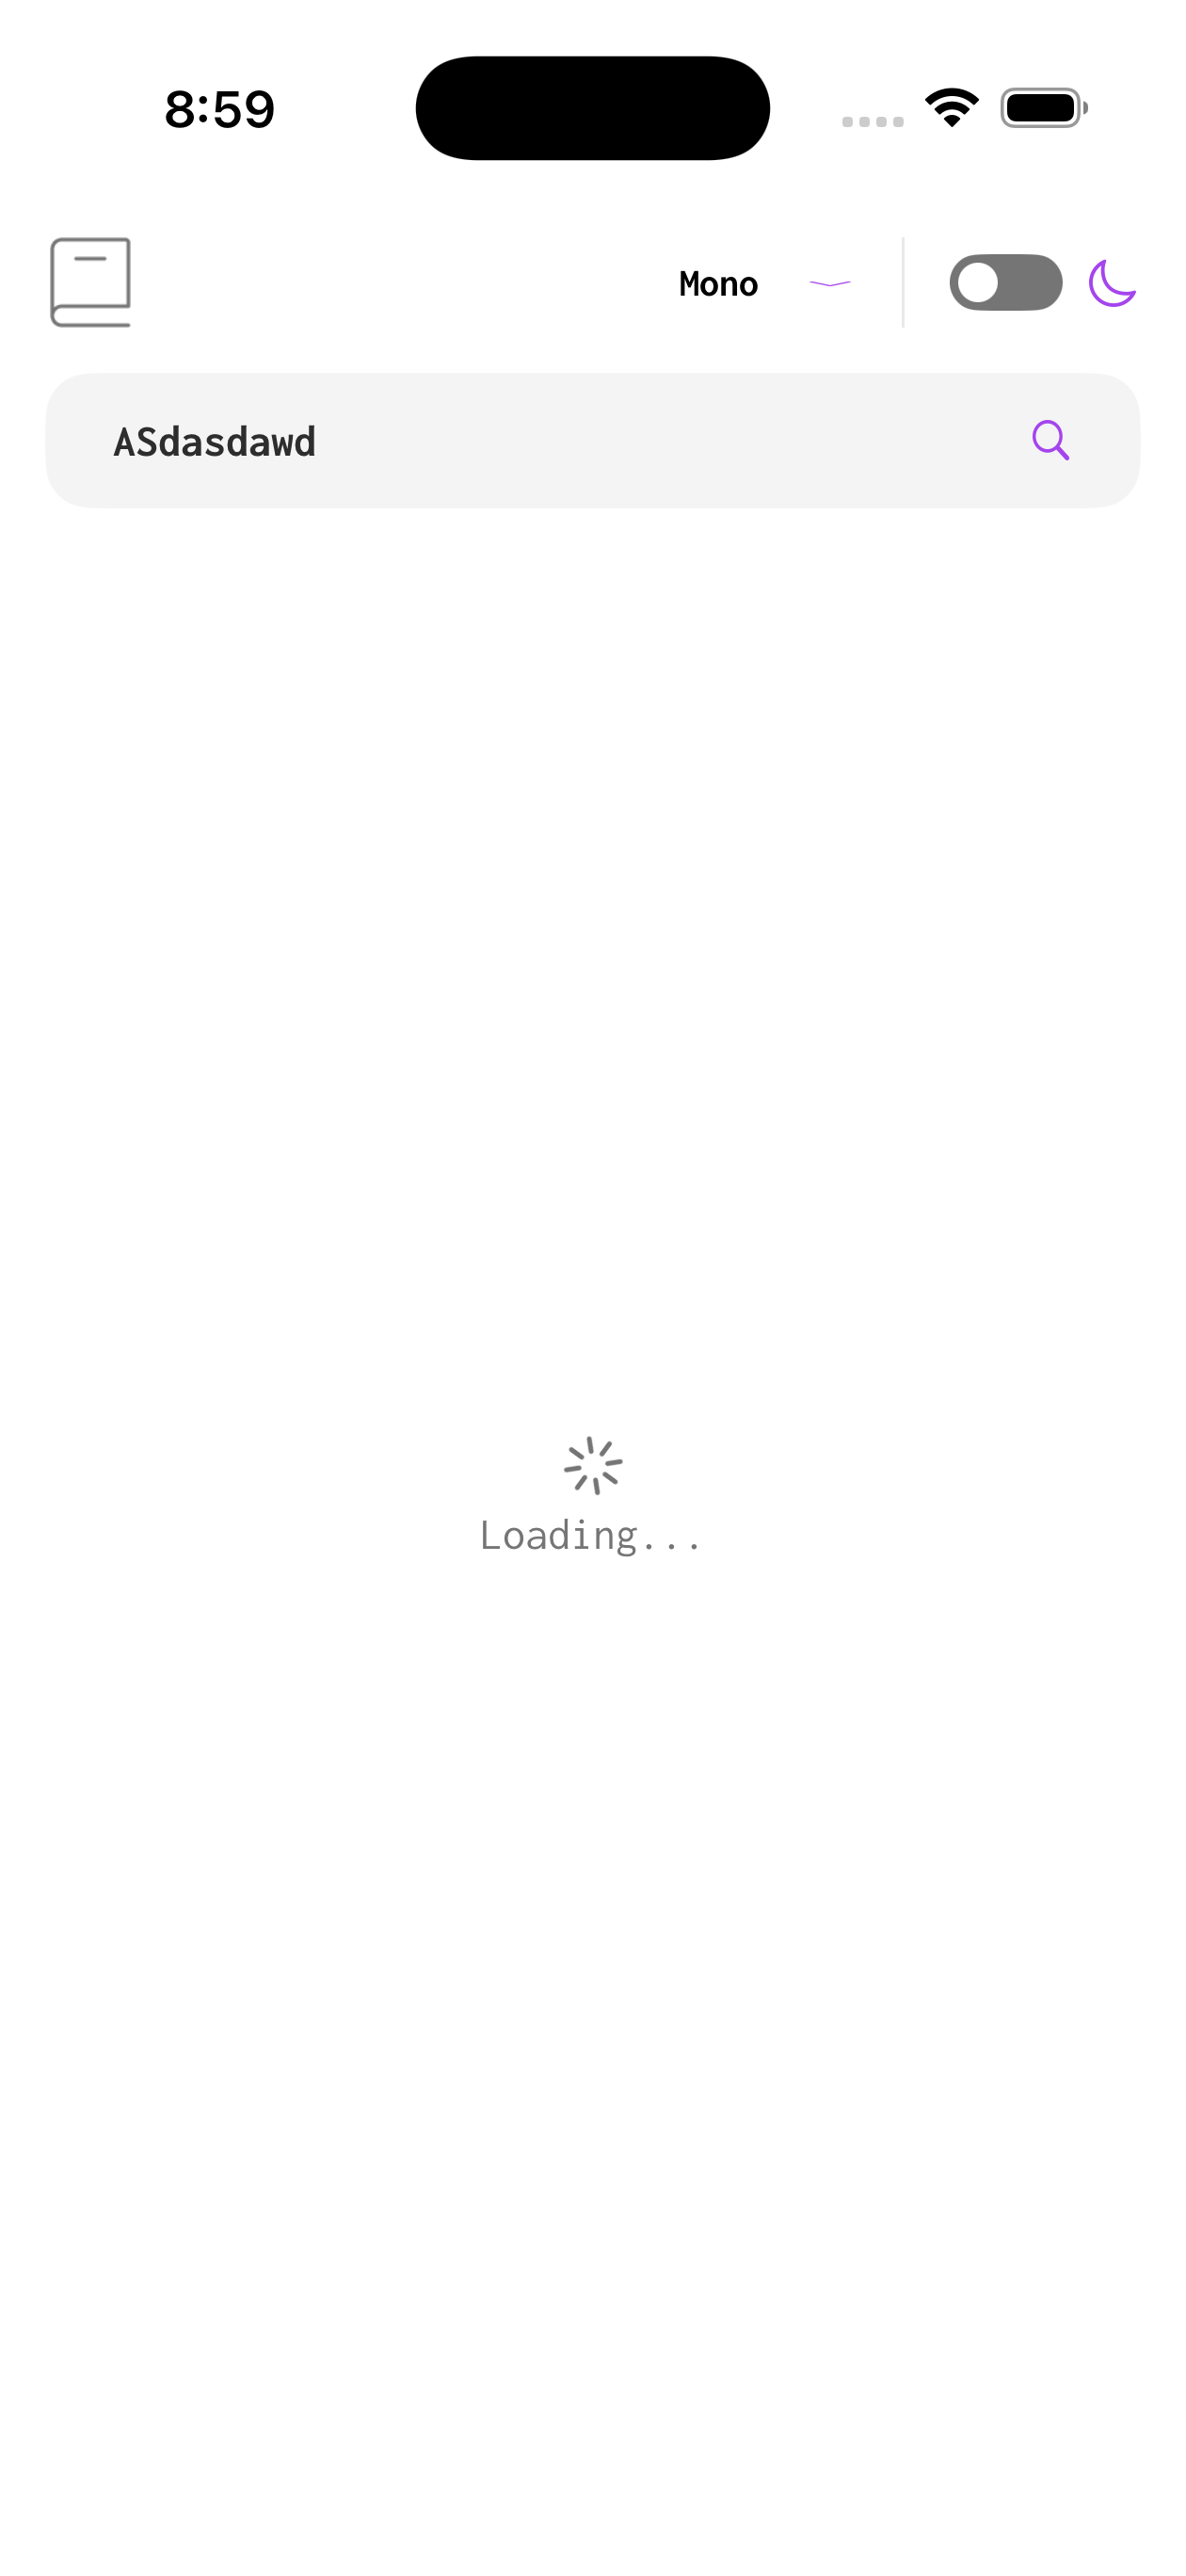
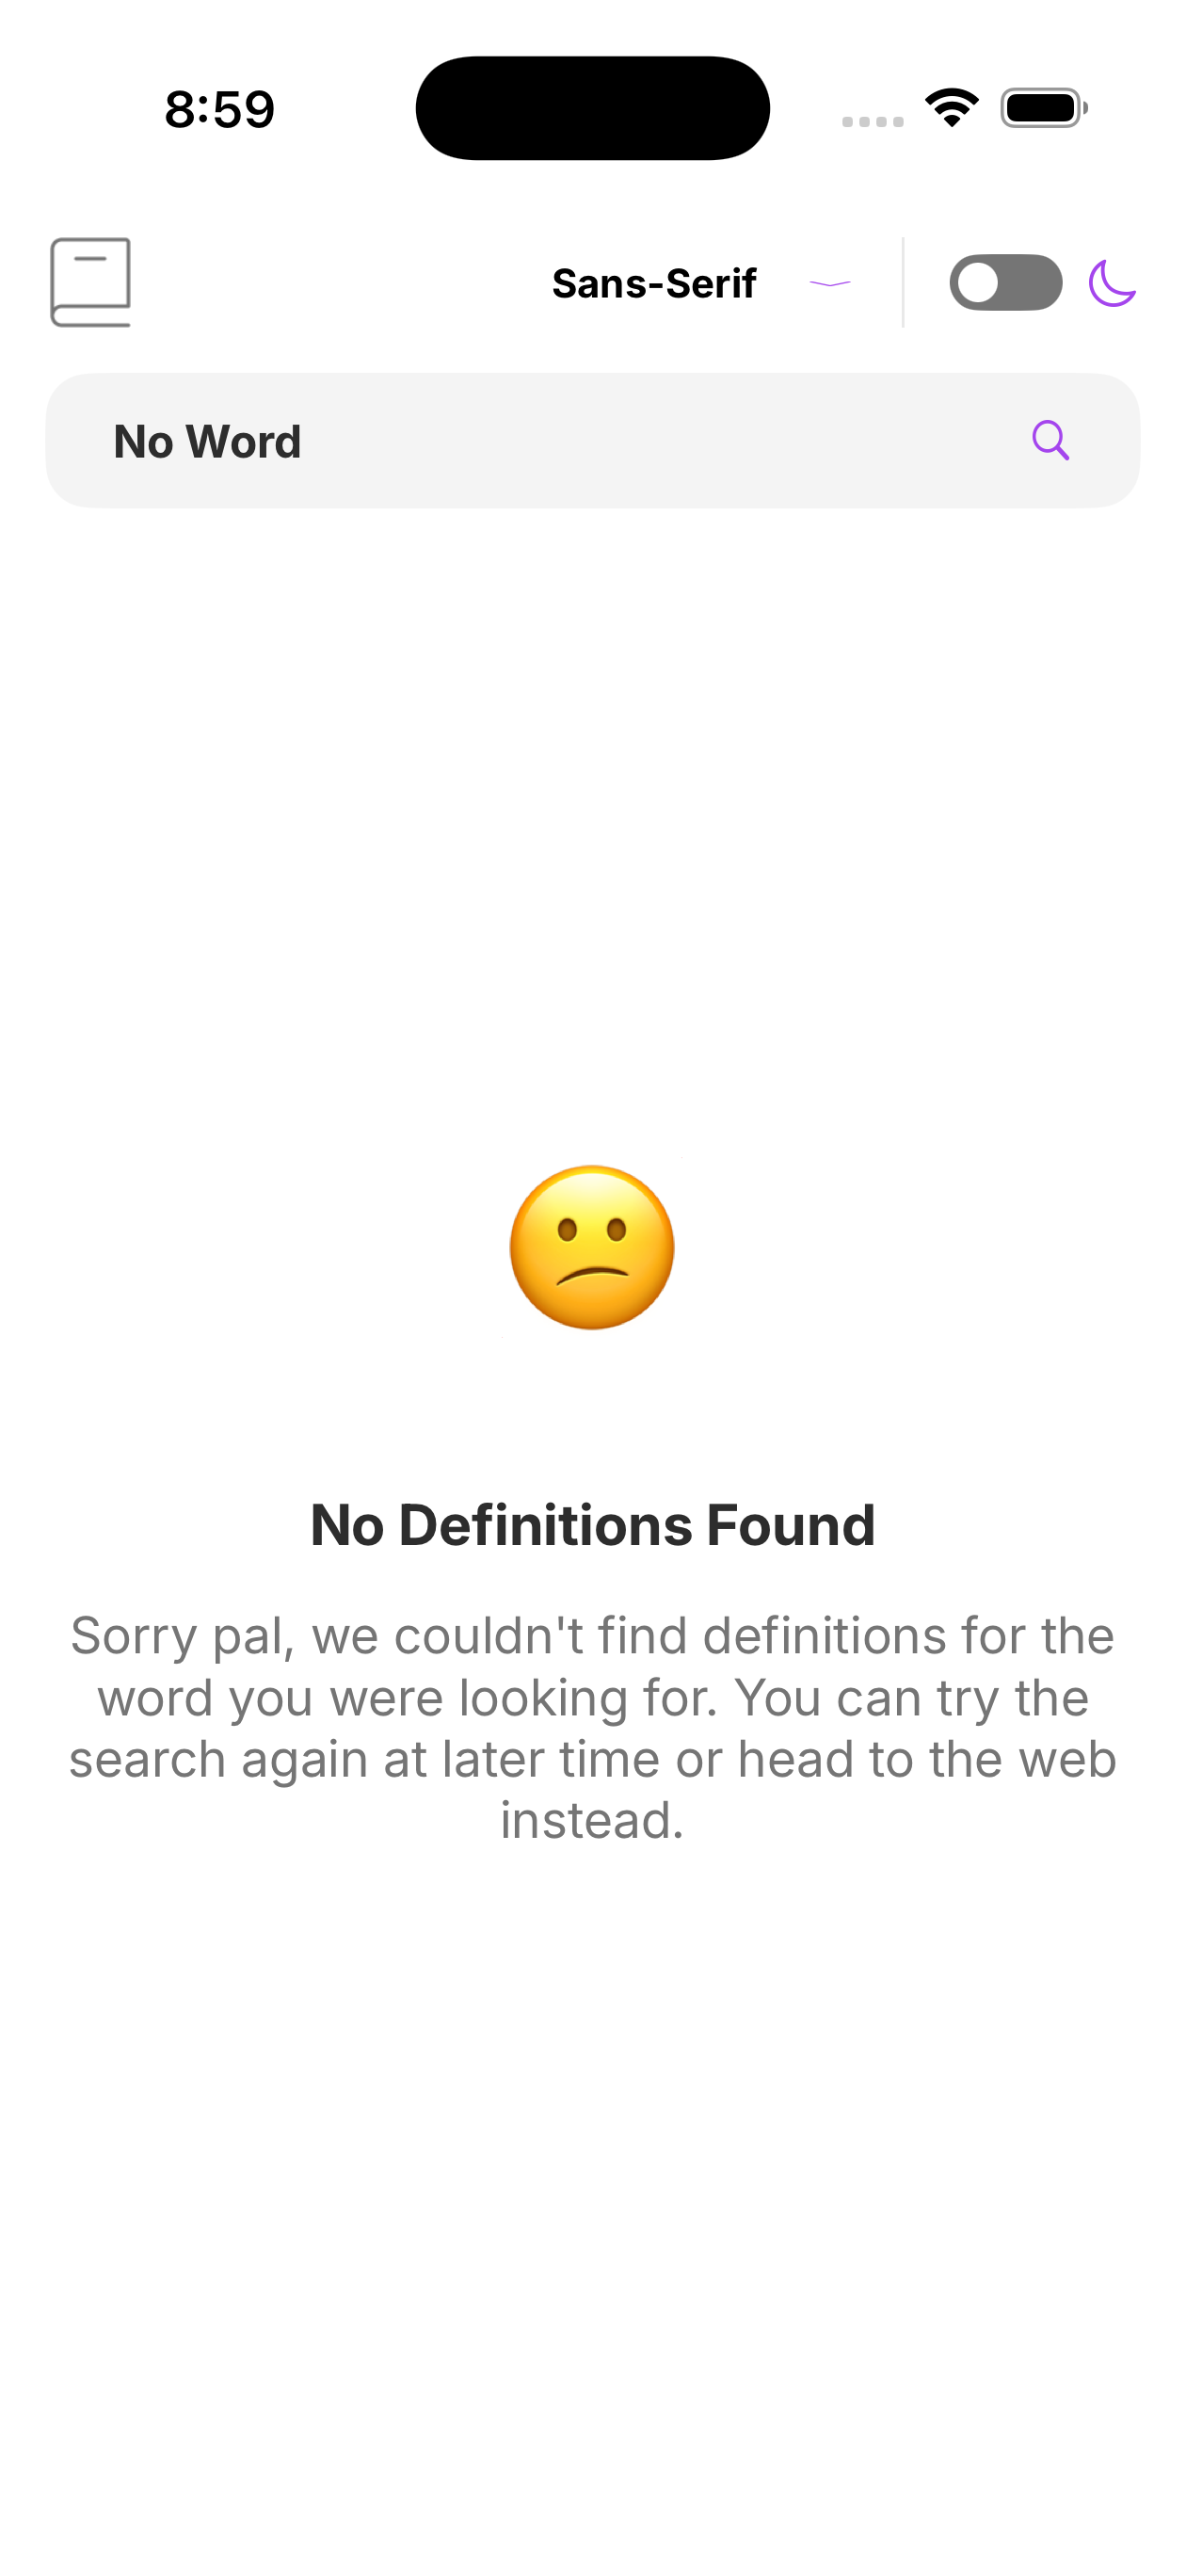
Screenshots from a real iPhone
The Experience
Using OBJC to do this project, which at first I thought it would be quite small since the application only consists of one screen, but it started spiraling out as more and more components require inheritance from one of many UIKit’s components.
All in all, I learned a lot of new things and it was relatively fun trying to do things in ObjC, which also surprises me that Apple still supports ObjC up into iOS 18. If any, my next project would be in Swift, or even using SwiftUI because this was not that fun to setup.
Programmatic UI building
Instead of using Storyboard to build UIs, I initialized actual instances of UIKit components and lay them out in the view by using NSLayoutConstraint. This ended up being the most fun part of building.
To start this off, I cut off all references to the Main storyboard, and have SceneDelegate initialize my view controller class instead to make the key window.
UIStackView can be considered like a flexbox. The axis is, well the flex direction; and the spacing could be equivalent to the gap. You get the gist.
Putting UIImage inside a UIImageView to allow setting scaling and fitting ratios.
NSLayoutConstraint is probably a new concept to web developers, but it is extremely useful for laying out UIs for mobile devices. Imagine them as hooks that hook certain things to certain point, such as a title’s center to the parent box’s center.
The layout was built step-by-step using code. This is similar to using React, but you have to use React.createElement with absolutely no JSX.
Naming Conventions
I don’t know if it’s supposed to be conventions, but I remember reading somewhere that OBJC classes should have a prefix in front of them, just like how classes from the Foundation module always start with NS (NSString, NSArray, NSData, etc.) and classes from UIKit module always starts with UI. I went with a shortened-version of “Dictionary” to make DT my prefix for this project.
Swapping between states
There’s a need to swap between states of the view, like having a valid word to show, having an internet connection error or the word doesn’t exist, and even a loading state. Using SwiftUI, it looked to be pretty simple to have some if-else statement to separate views, but with UIKit and OBJC, I went with having a child view controller.
That means, the main controller holds an instance of a child view controller (or UIViewController), and swaps in and out when necessary.
/// Sets up a new child controller at a specified location.////// - Parameters:/// - controller: The child controller to add.- (void)setupChildController:(UIViewController<DTFontSwitcherChoiceDelegate> *)controller { if (self.childController != NULL) { [self.childController.view removeFromSuperview]; [self.childController removeFromParentViewController]; [self.childController didMoveToParentViewController:NULL]; self.childController = NULL; } self.childController = controller; self.childController.view.translatesAutoresizingMaskIntoConstraints = NO; [self addChildViewController:self.childController]; [self.view addSubview:self.childController.view]; [NSLayoutConstraint activateConstraints:@[ [self.childController.view.topAnchor constraintEqualToAnchor:self.searchBar.bottomAnchor constant:16], [self.childController.view.bottomAnchor constraintEqualToAnchor:self.view.safeAreaLayoutGuide.bottomAnchor constant:-16], [self.childController.view.leadingAnchor constraintEqualToAnchor:self.view.safeAreaLayoutGuide.leadingAnchor constant:16], [self.childController.view.trailingAnchor constraintEqualToAnchor:self.view.safeAreaLayoutGuide.trailingAnchor constant:-16], ]]; [self.childController didMoveToParentViewController:self]; [self.view setNeedsLayout];}
It’s probably a lot of spaghetti here…
Certain things I wanted to note:
As you can see, at the end I called certain messages onto the child controller and view to trigger a proper re-render, such as the child view if it needed setting up.
Persistent Data
Since I don’t have a need to utilize the SQLite implementation, because, no data with proper relations. I went with a simple key-value map present within NSUserDefaults, akin to Android’s SharedPreferences. I used this to store simple values like the current override theme or the current font style.
Font Switching
At first, I chose to change the font faces of the UI by reloading the UI, but this makes it pretty awkward, or I wasn’t able to implement it clearly. I chose to reload the font faces by keeping an array of labels, inherited from UILabel called DTFontSensitiveLabel, that has a method to change the font. Once the font is selected, I call this method.
Theme Switcher
As you may know, iOS and also Android provides its own theme for the device, and usually, you should obey by the user’s device settings. But to better show the theme switch in action, I overrode the theme for the view.
Also, the switch toggle is fully custom, as the UISwitch provided by UIKit does not support scaling with layout constraints. I’m actually still amazed with myself, how I was able to implement such a pixel-perfect custom dark-mode switcher.
Features
All features that are originally requested by the challenge have been implemented:
Dark Mode Switcher
Font Switcher
API-based fetch
State for loading
State for having no word searched
State for errors
Other things that I did not try
Of course, the UIKit and the SwiftUI libraries are extremely large, meant to be able to deal with the various types of apps we see on the Apple Store. I could have never explored all of it in such a short (it wasn’t that short compared to others) challenge. There were a few things that I noticed that it existed, and thought would be important to study on, or implement in another occassion:
Keychains. It seems like you can save authentication tokens, accounts and secret keys here, without having to come up with convoluted methods. But as tried before, Keychain’s documentation was rather weak, and difficult to understand which record type is which.
SwiftData or Data Models. Apple XCode provides methods to construct SQLite entities and records, and its relations. But for some reason, I could not really get it to work well with ObjC and UIKit, with a lot of odd duplication issues, and I was also unable to sync up the programmatic models with the models available in XCode.
Storyboards. Albeit a bit outdated by now with the arrival of SwiftUI, but I had to give it to them that it was a smart play to allow designers to work on codebases by providing such a tool.
Interoping with C/C++. ObjC seemed to have been created with that interop in mind (even now iOS 26 is still supporting ObjC, which is crazy to me, and sometimes that ObjC documentation is even better kept than Swift), you could use ObjC to spin up data and inputs, but a C/C++ engine could handle the work, such as game engines or business softwares.
Unit Testing. XCode helpfully provides you with some test files to bootstrap it, but I just didn’t know how to use it at all.
UI Testing. Similarly, XCode also provides you with UI test files, again, I don’t know how to do it.
Though, for such a simple app that people could be sure they could build in one day, in one single React component, ended up spiraling into 10 controller files, 8 model files, 1 util file, 8 component files and 2 files just for launching into the main application. You could probably guess why Objective-C doesn’t get used anymore, but at the time of its conception, OOP in C/C++ was revolutionary.